If you have any questions, please do not hesitate to contact us and we will work out the perfect solution for your project together with you.
Projectplanning Contact Youtube
* 230V heating foils must not be used in damp rooms!
You know the problem that it is pleasantly warm inside your caravan, but the floor is comparatively cold? The cause is purely physical, because warm air rises and thus the floor and the feet remain cold. This is exactly where an electric underfloor heating system based on an infrared heating foil can provide a remedy!
By using infrared heating film, the floor can be pleasantly tempered over almost the entire surface and is thus a perfect supplement to the existing heating system. An application as sole heating is not feasible in a caravan due to the ratio of heating surface to room volume.
How does infrared heating foil work?
Infrared heating foil is the thinnest version of an electric heating source. Due to its low installation height, it is very popular for installation underneath the floor covering. The infrared heating foil heats up evenly and thus provides pleasant floor warmth over the entire installed surface.
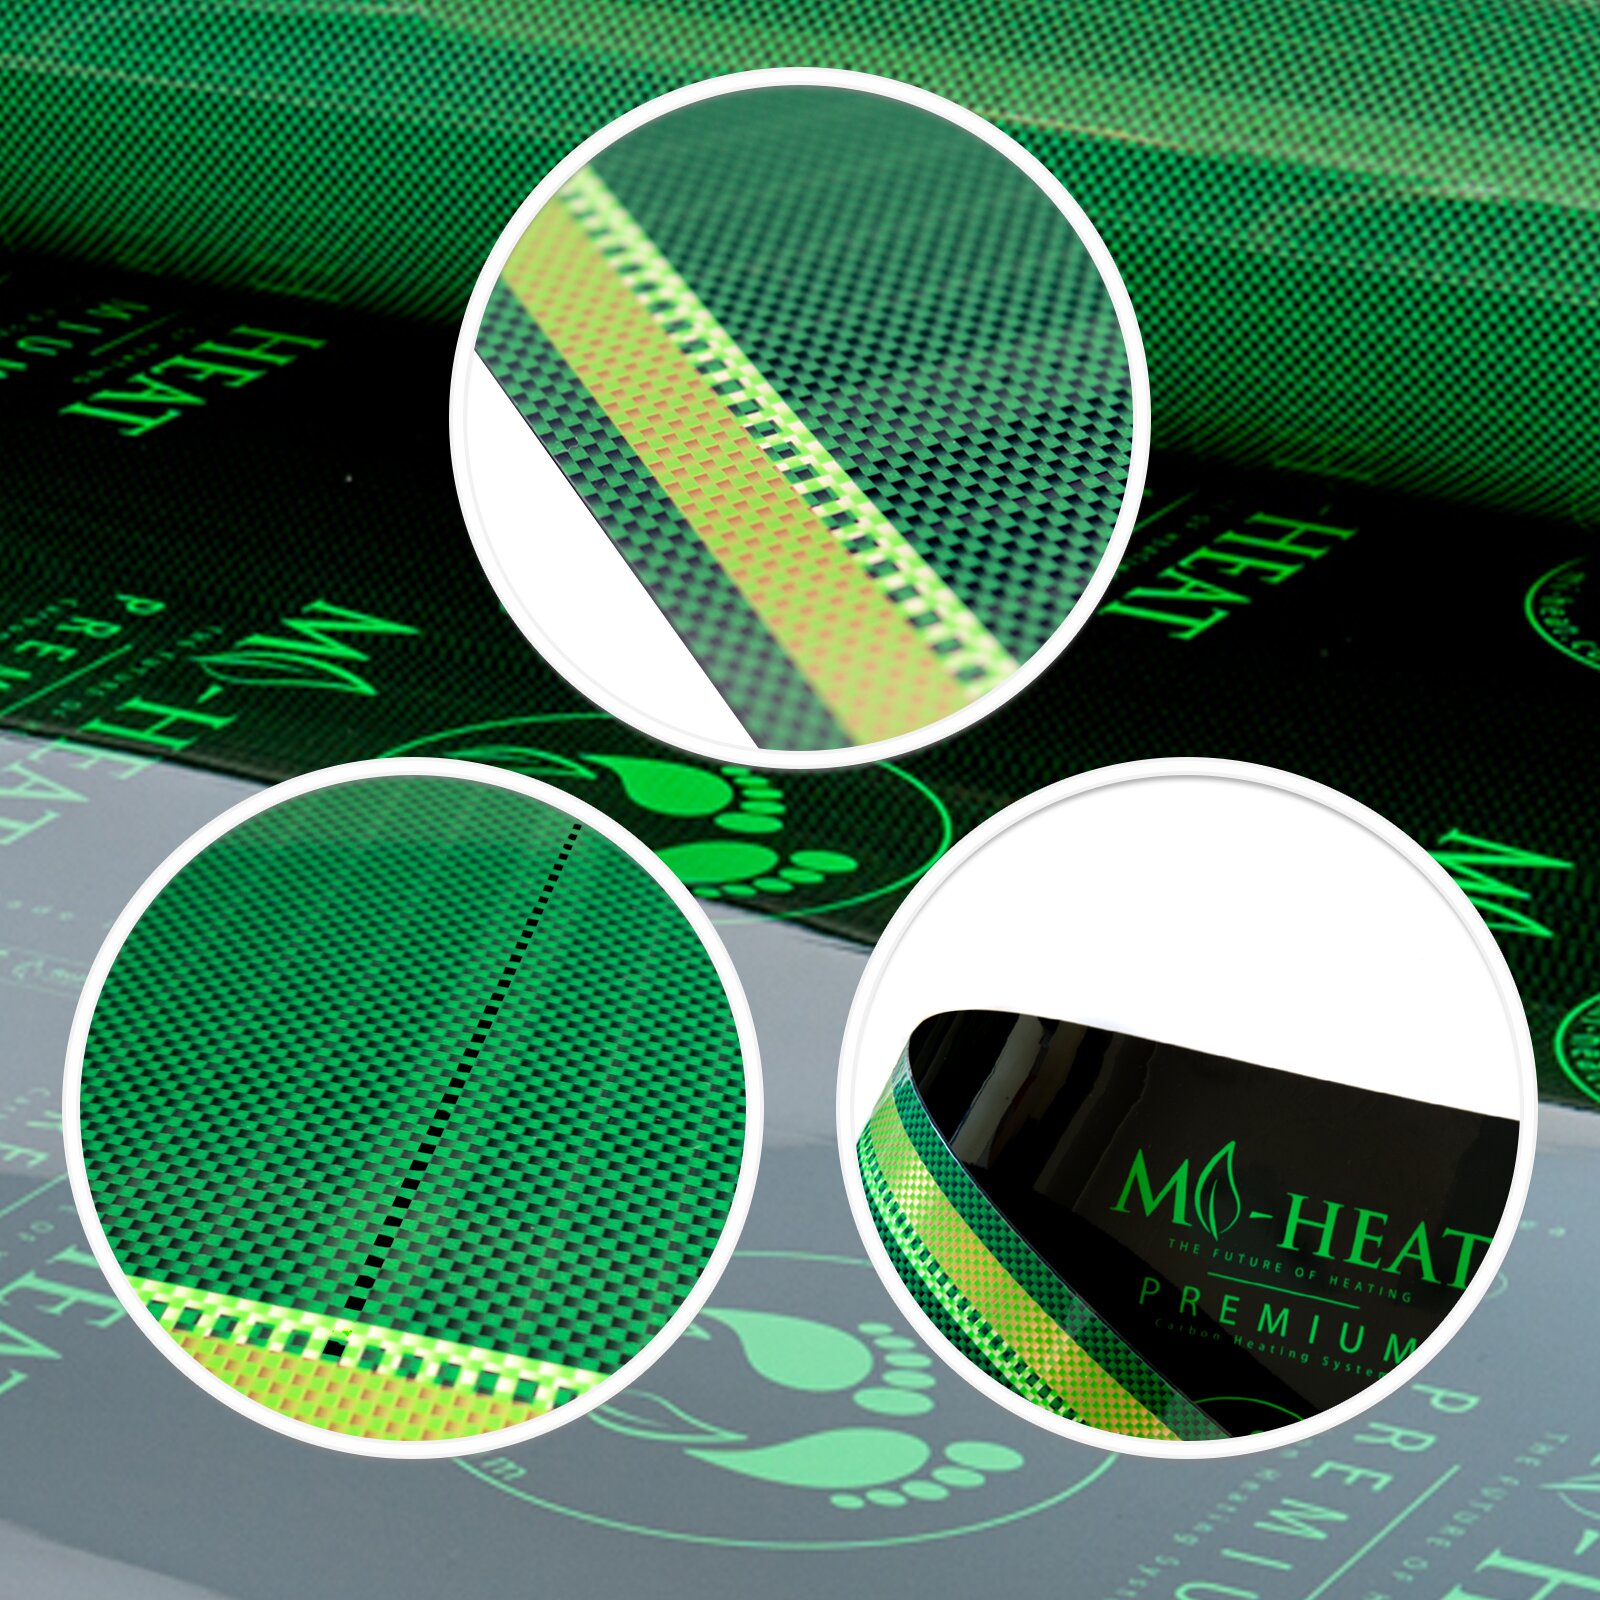
Detailed view of the Mi-Heat Premium heating film
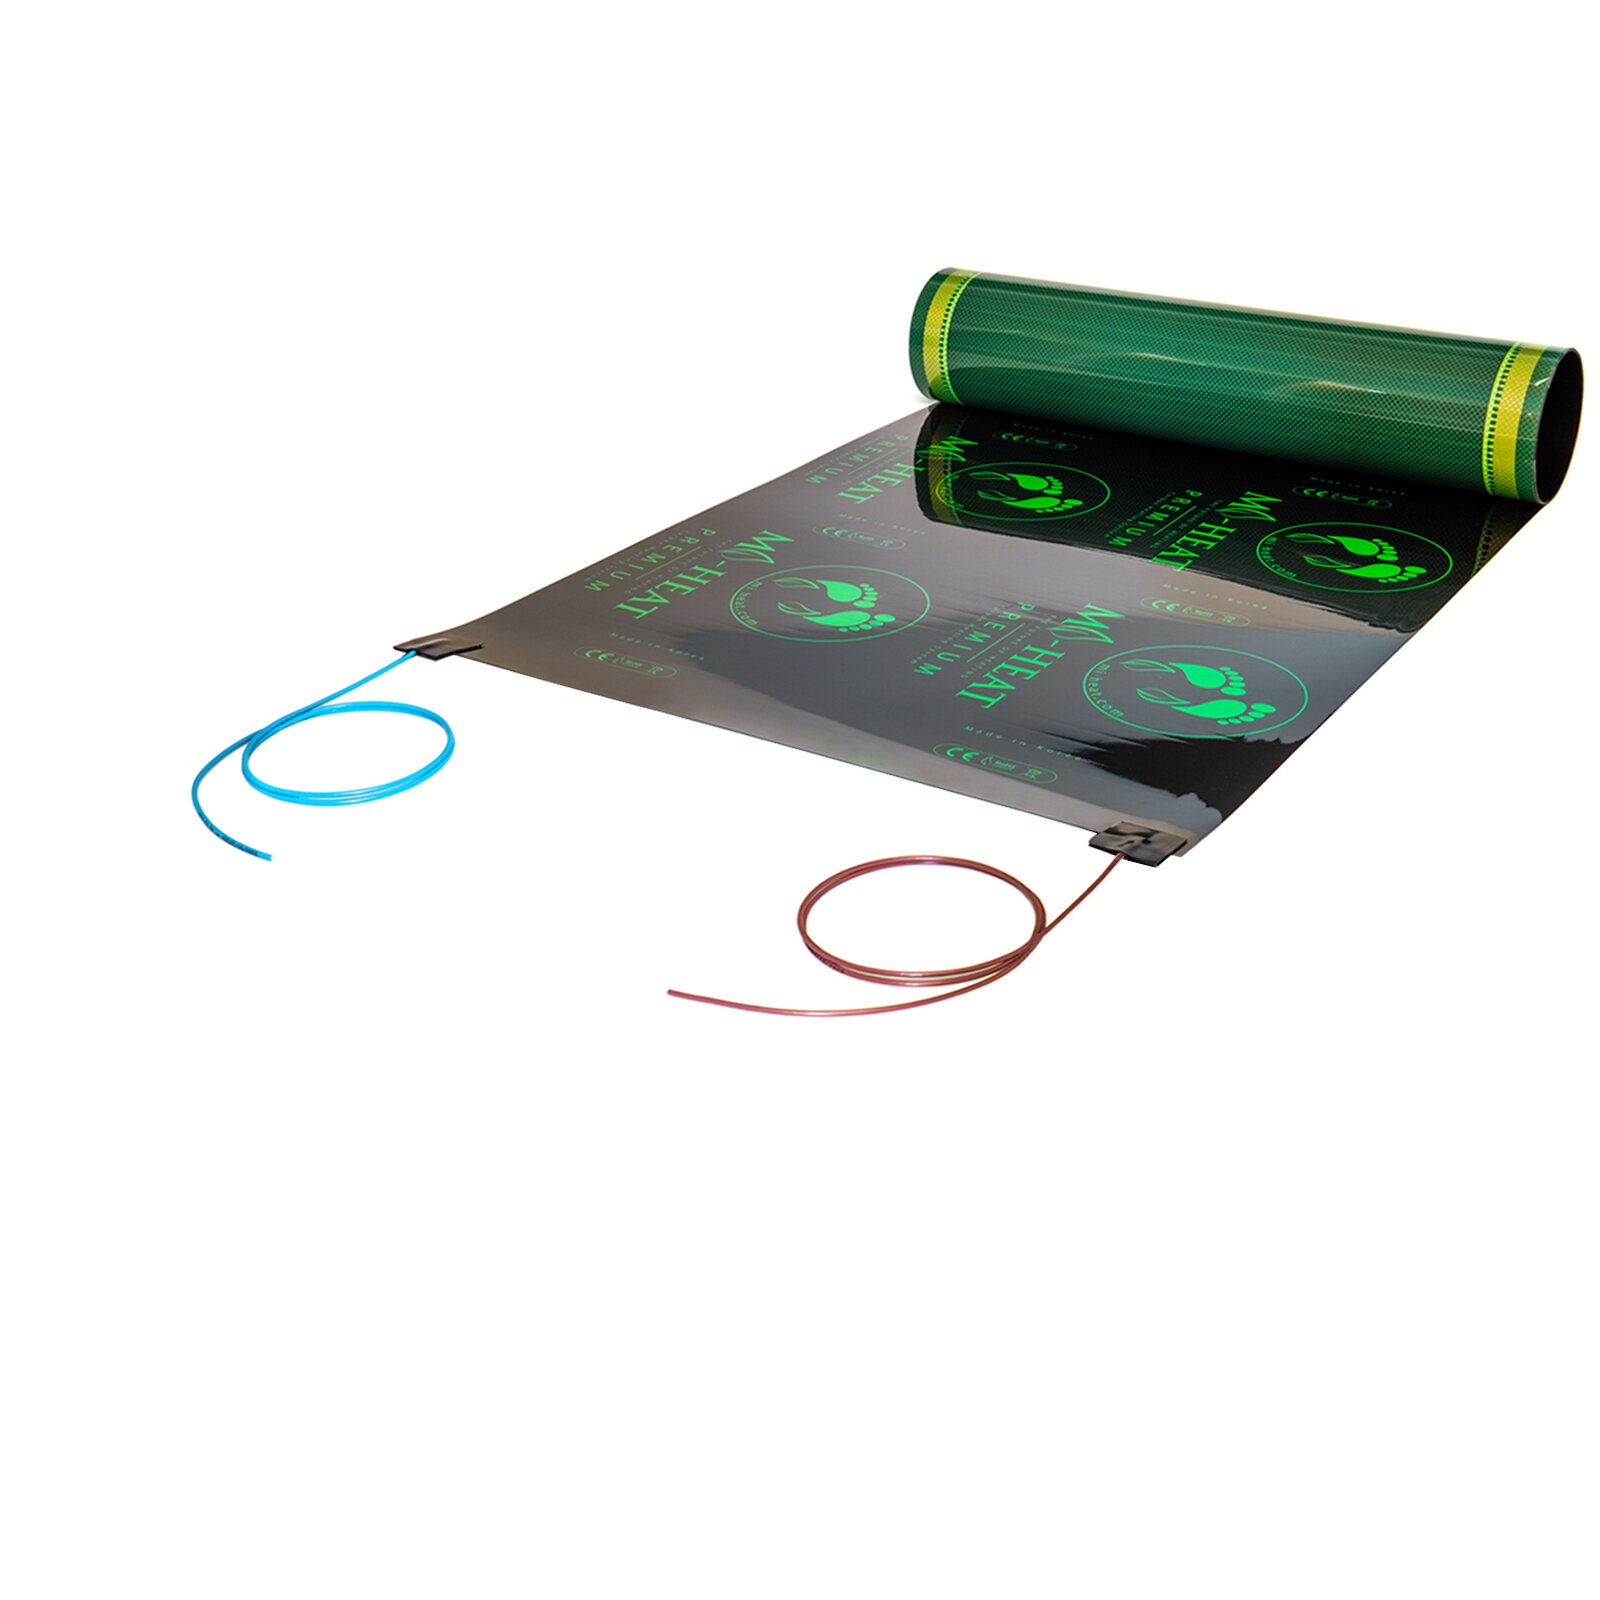
We offer the right heating films for almost every project. Different versions are available for 12V (30cm / 50cm wide) or 24V (30cm / 50cm wide) mains voltage, as well as for the normal mains voltage 230V* (30cm / 50cm / 80cm wide).
The majority of our project enquiries are realised with 230V infrared heating film. This is due on the one hand to the lower purchase price for the film, and on the other hand to the user behaviour of mobile home owners. It has been shown that the overwhelming majority stay on pitches with shore power.
Heating films with 12V (standard for cars and motorhomes) or 24V (standard for trucks and often for conversions to expedition vehicles) is mostly used for self-sufficient user behaviour, i.e. when no shore power is available. Of course, this results in significantly higher currents, so precise planning is necessary.
If, for example, we assume a total area of 2.0 m² to be heated with a 12V heating film of 130W/m², we arrive at a current consumption of almost 22 amps (formula: current = power : voltage). A frequently used battery type is an AGM battery, which ideally should not be discharged below 50%. If we assume a battery capacity of 150 Ah, the critical point at which the battery should be recharged is reached after about 3.5 hours in extreme cases (continuous heating at low outside temperatures). The charger for the battery must also be designed accordingly so that the extracted power can also be recharged.
We recommend a heating capacity of 130W/m² for tempering the floor. A lower output would not lead to the desired success in the caravan due to the meagre insulation.
From an interior temperature of the caravan of approx. 16-18°C, it should be possible to reach a temperature of approx. 24°C on the top layer without any problems.
If the caravan is also to be used at very low outside temperatures and the batteries and water tanks are to be heated, a 220W/m² heating foil should be used.
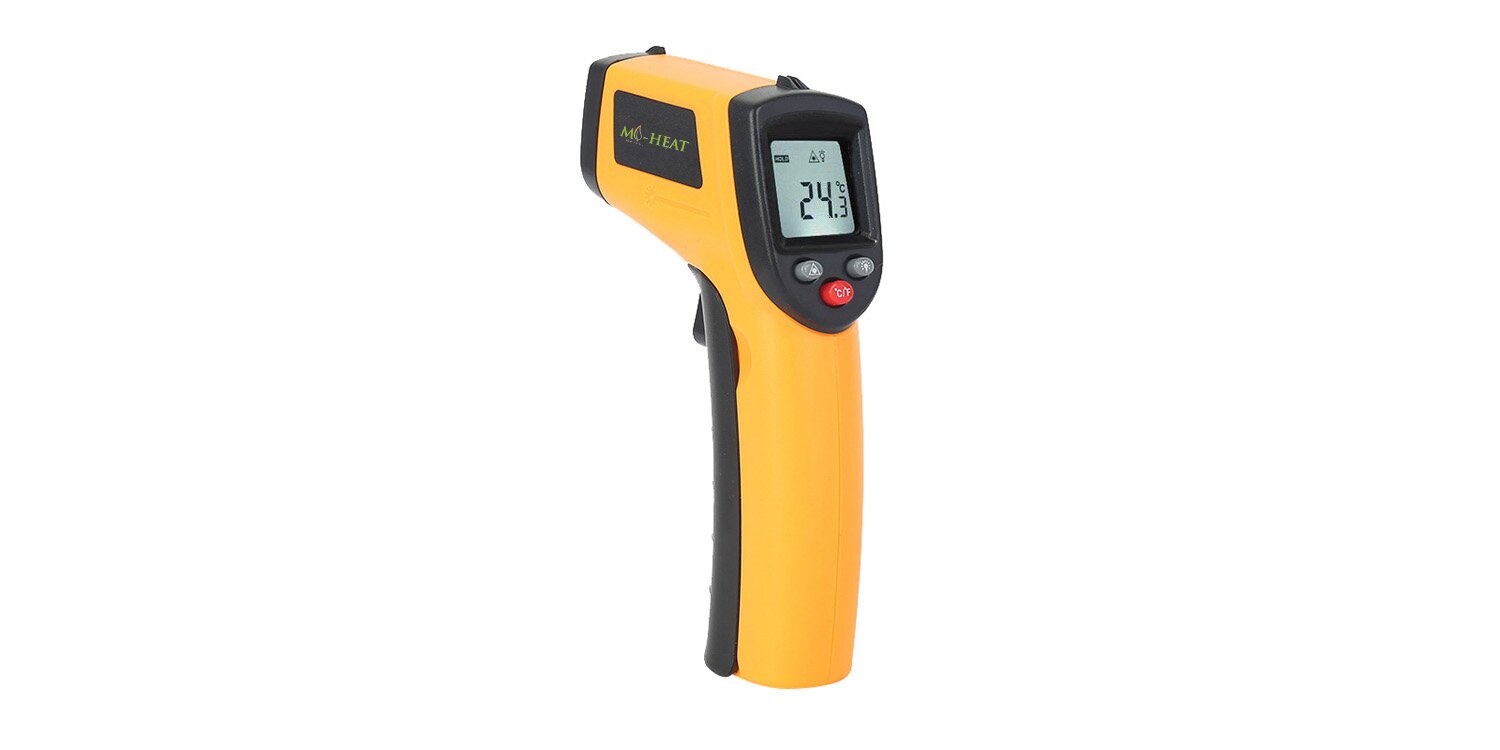
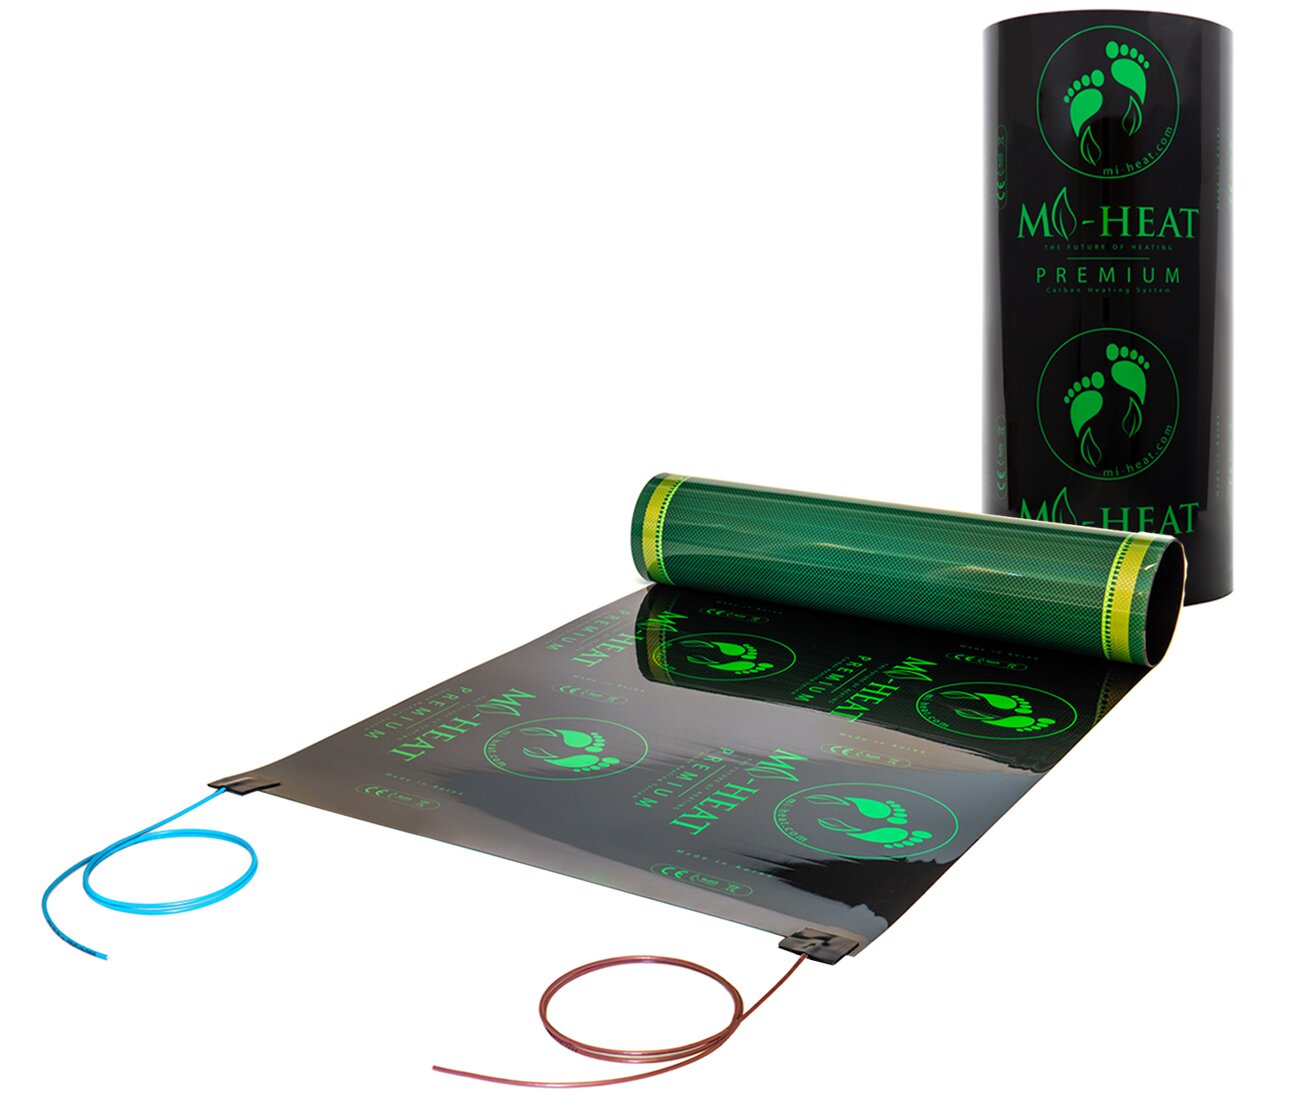
In our online shop, you will find the heating films both as ready-made heating strips and as kits.
The prefabricated films are already cut to length and equipped with double-insulated connection cables. For optimum installation of the heating films in the caravan, you can flexibly select the desired lengths of the heating films in 25 cm steps. In addition, a strip of PVC insulating tape is included in the scope of delivery of each prefabricated heating fmil so that you can shorten the heating film individually if necessary and insulate it accordingly.
The connection cables are 2.5 metres long as standard, but can be customised on request. To do this, simply add the additional amount of cable required (each available as a 5m ring) to the shopping basket and specify the desired distribution in the comments field.
Alternatively, the heating film is also available as an inexpensive kit. Here you can freely design the lengths of the individual sheets. Depending on the selected heating film, a separation is possible every 3.5 to 25 cm. So-called connection sets are included, which contain the required number of crimp connectors, double-insulated connection cable and vulcanising tape for insulation.
An often underestimated component when setting up underfloor heating in a motorhome is the insulation by means of a so-called heating film underlay. This is a type of impact sound insulation with a high thermal resistance and a side laminated with aluminium. This is available in thicknesses of 1.5 mm, 3 mm and 5 mm.
The aluminium lamination acts as a kind of reflector and directs a large part of the generated heat energy in the desired direction. In addition, the "poor" heat transmission of the heating film underlay means that the generated heat is not dissipated in the direction of the subfloor.
A normal impact sound insulation, as known from a water-guided underfloor heating in a house, is not suitable here. This is because it has a very low thermal resistance, as the heat is supposed to pass through the underlay. So it is not really suitable for our application.
In addition, the heating film underlay protects the existing floor covering from possible uneven fading and, depending on the design, can partially or even completely accommodate the connection cables / connection points of the heating film.
Less is more - From the basic idea, one would now think that the thickest possible insulation would be the optimal solution. However, this assumption is not generally correct, because the correct thickness of the heating film underlay goes hand in hand with the chosen floor covering.
A thicker floor covering, such as vinyl on HDF support, laminate or parquet, is very resistant to foot traffic. A heating film underlay up to 5 mm thick can also be laid underneath without any problems.
Thin floor coverings such as vinyl without a backing board or carpet, on the other hand, are not very resistant to foot traffic. If a thick heating film underlay were to be installed underneath, the whole structure would give way too much under load. The heating film would be permanently damaged by this constant mechanical stress. Therefore, only a heating film underlay with a thickness of 1.5 mm may be used under such thin or unstable floor coverings.
The installation of the heating film underlay should be as full-surface as possible to ensure an even subfloor. Otherwise, visible unevenness in the floor covering is possible. The seams of the heating film underlay should also be sealed with aluminium tape so that as little cold as possible can penetrate from below.
It is important to note that the heating film may only be operated in conjunction with a suitable thermostat, which ensures thermal monitoring by means of an external floor sensor. This also enables the floor temperature to be limited to the maximum temperature specified by the floor covering manufacturer (usually max. 27° C surface temperature).
The floor sensor of the thermostat should protrude at least 10 cm into the active heating area of the infrared heating film so that the temperature can be measured correctly. In addition, it is advisable to choose a position on the floor where there is as little walking as possible to avoid mechanical damage to the sensor.
For this purpose, we offer a variety of different suitable thermostats as surface-mounted or flush-mounted versions. A surface-mounted thermostat can simply be mounted on any surface, for example on the wardrobe or kitchen counter, with two screws. For a flush-mounted thermostat, depending on the variant chosen, a cut-out in the shape of a switch box or matching the respective bracket must be made.
The following models are particularly popular with our customers:
Thermostats for mains voltage 230V
Thermostats for on-board power supply 12/24V
Of course, any other thermostat from our range can be used to control the electric underfloor heating. In addition to classic wired thermostats, there are also models with radio transmission and even with WLAN and a suitable smartphone app (WLAN router required).
After choosing the right heating film, a heating film underlay as insulation and a suitable thermostat, the basic components of an electric underfloor heating system for the caravan have been assembled so far. However, there are still a few important accessories that should not be forgotten:
As explained in the article, the installation of electric underfloor heating in a caravan consists of several layers.
The first step is to lay the heating film underlay over the entire surface of the substrate and seal the seams with the aluminium tape. A recess for the floor sensor can be made in a suitable place. Alternatively, the sensor can later be placed above the heating film. The floor sensor should reach at least 10 cm into the active heating area of the heating foil.
Then the heating film is laid and fixed to the heating film underlay with OPP tape. Make sure that the individual strips of the heating film do not lie on top of each other. The connecting cables must also not run over the heating films, but must be laid along the edge.
The Aqua-Stop PE foil is then laid over the entire surface of the heating films. Any cut edges of the Aqua-Stop PE foil should overlap by approx. 10 cm and be taped with the OPP tape.
Finally, the actual floor covering is laid and forms the top layer in this structure.
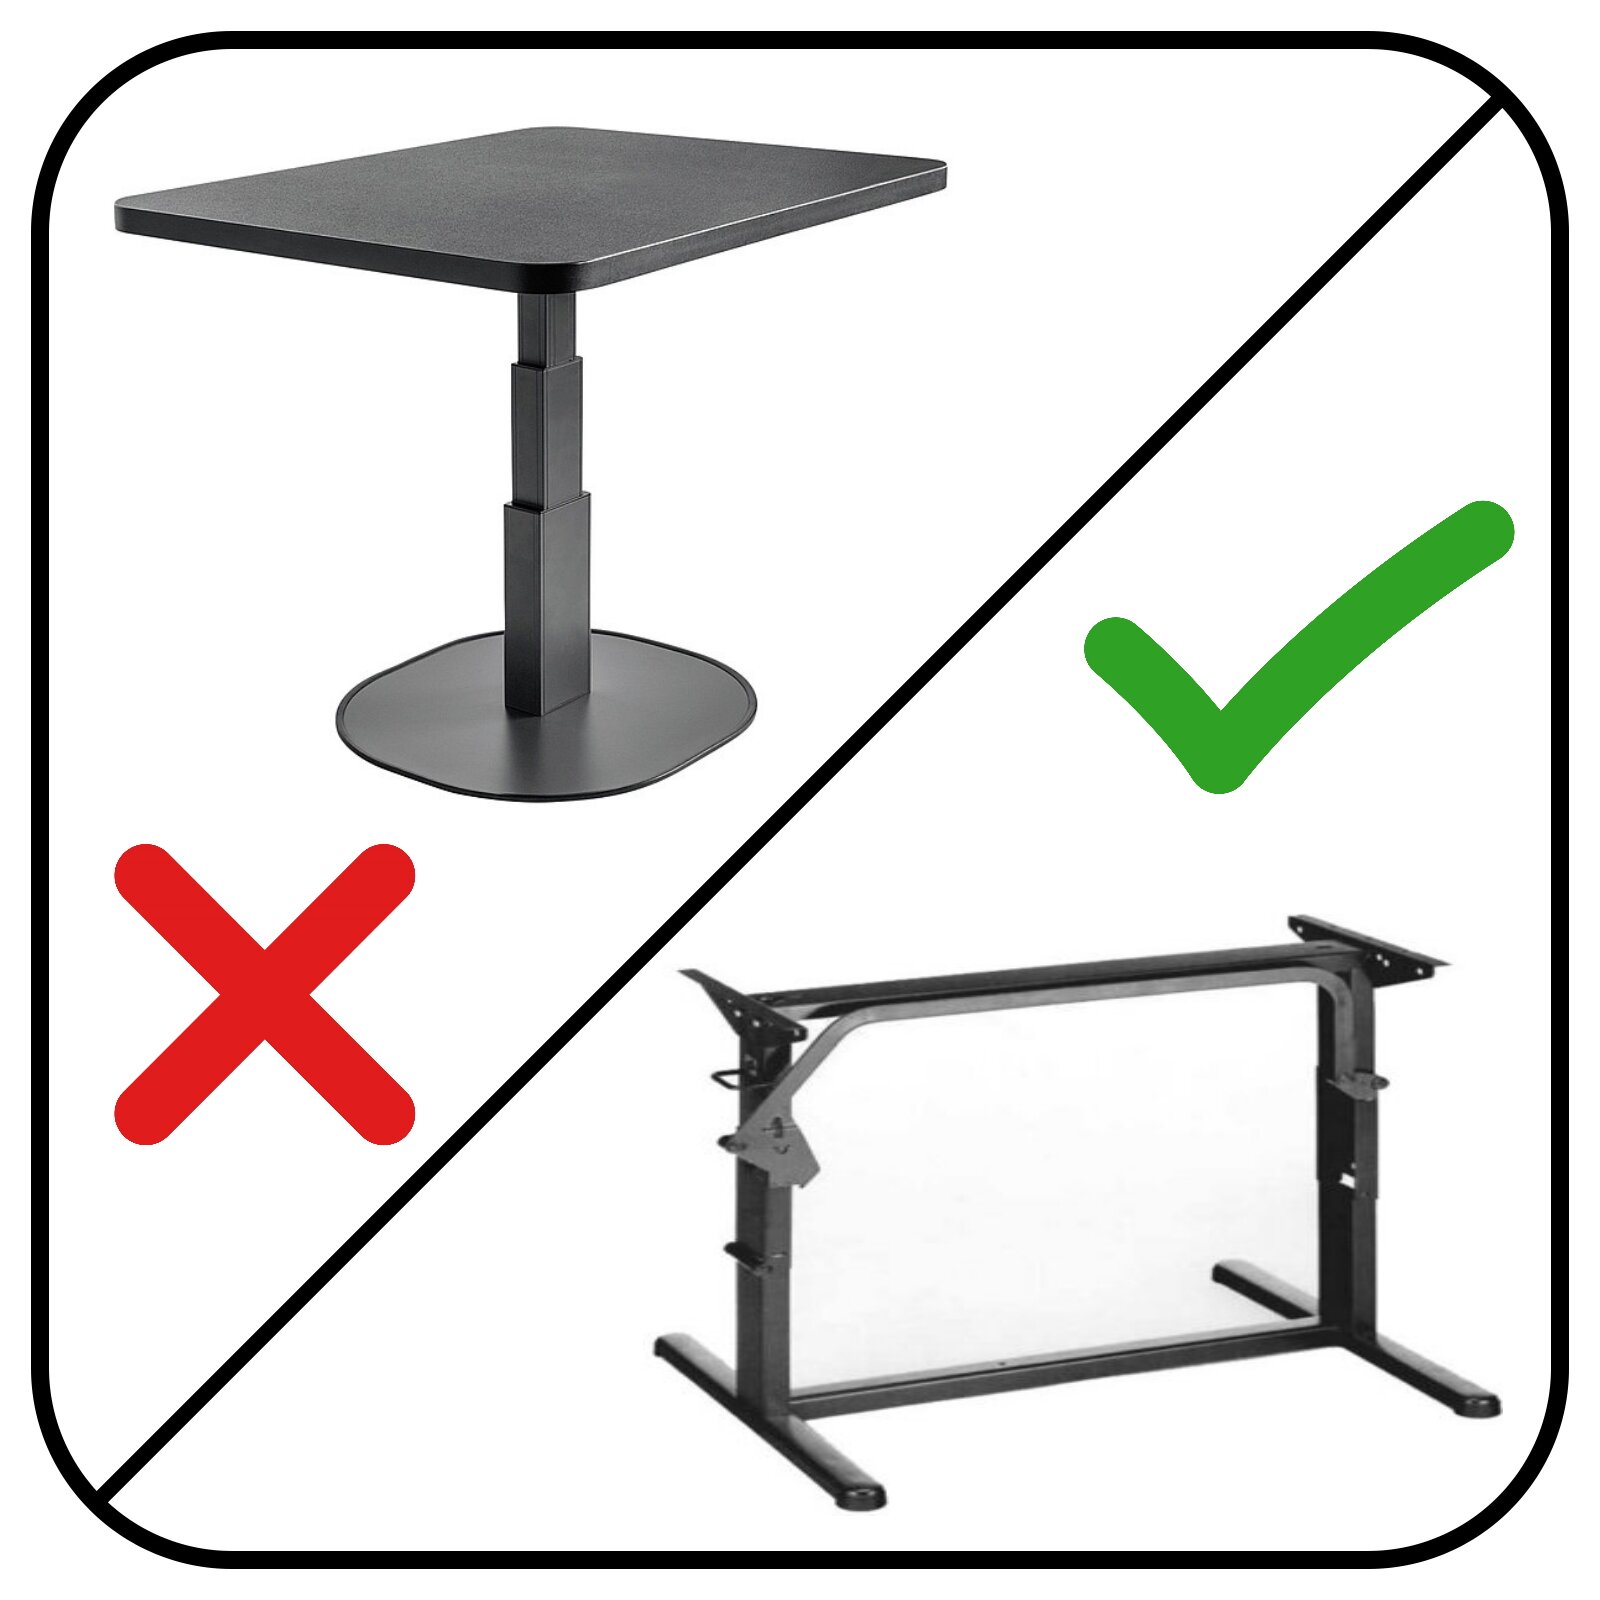
A few small "obstacles" can still be hidden in a caravan, but they should be taken into account.
If you have any questions, please do not hesitate to contact us and we will work out the perfect solution for your project together with you.
Projectplanning Contact Youtube
* 230V heating foils must not be used in damp rooms!